
How long can litter stay on the poultry floor before changing it? This depends largely on how carefully you manage feeds and water to prevent spillage and excessive wetting of the litter.
The type and quality of feeders and drinkers you use also play a major role. They determine how quickly the litter becomes wet or compacted.
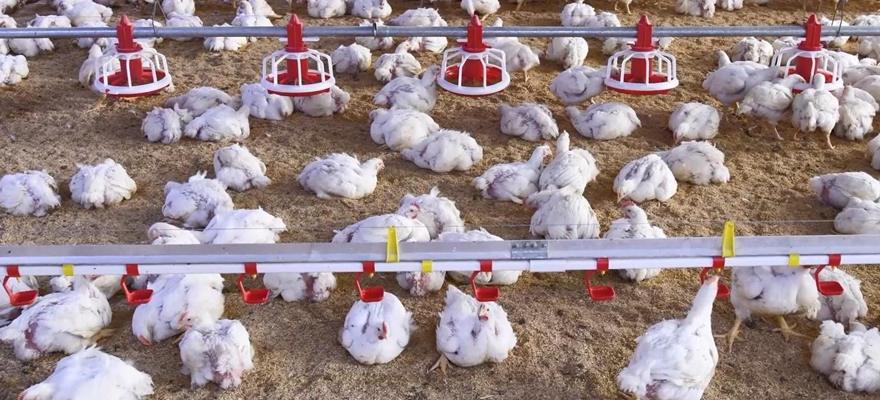
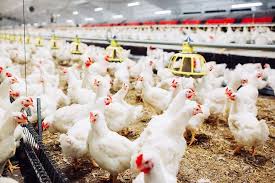
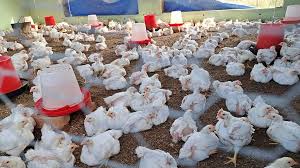
Chickens raised on floor systems remain in constant contact with their litter throughout their life. This direct and continuous contact means litter condition has a significant impact on bird health, performance, and overall productivity.
Good quality control and proper daily management are essential to maintain litter in an acceptable condition.
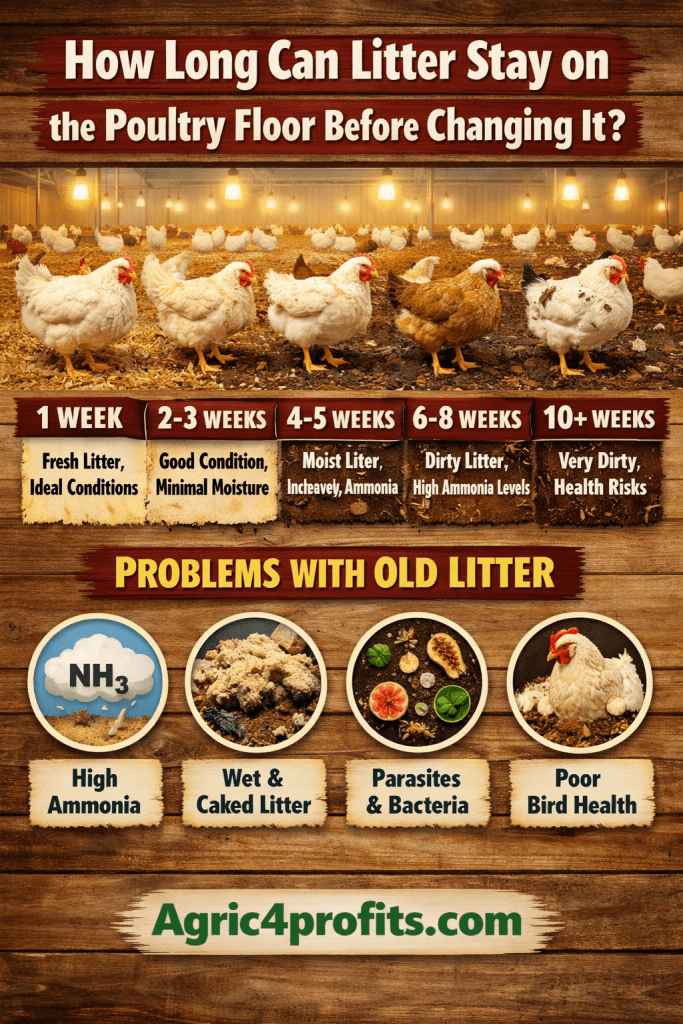
A common guideline is to completely change the litter once every two months. However, this is not a fixed rule. Always change the litter immediately if it becomes wet, caked, or excessively dusty, even if it’s only a day or two after the last change.
During the rainy season, litter tends to absorb moisture much faster. Therefore, more frequent changes or careful monitoring may be required.
Litter is a critical component in poultry production. Birds are exposed to it (and its contents like moisture, microbes, ammonia, dust, odor, and texture) from day one.
Poorly managed litter can become a major source of problems. These include infectious diseases, footpad dermatitis, breast blisters, respiratory problems, and serious economic losses.
Keeping litter dry is one of the most important aspects of poultry house management. Dry litter helps control ammonia levels, creates a healthier environment for the birds, and significantly reduces condemnations due to hock burns, footpad burns, and breast blisters.
Read more: How to Make Money in Poultry Farming
1. Importance of Dry Litter in Poultry Farming
Today, many farms reuse built-up litter for several flocks. This makes proper litter management even more critical.
Poultry litter is a mixture of bedding material (such as shavings or rice hulls), manure, feathers, spilled feed, and other organic matter. Dry litter is essential for both bird health and the welfare of workers who spend time in the poultry house.
When litter retains too much moisture, it begins to clump together. This condition is called caking.
Caking usually occurs because of excessive moisture buildup over days or weeks, not just a few hours of poor conditions. The main causes include inadequate ventilation, water spillage, high humidity, or poor drinker management.
A. Water Consumption and Moisture Management
Broilers consume about 2 pounds of water for every pound of feed. In a 20,000-bird house, this can mean over 50,000 gallons of water per flock.
Only about 20% is retained for growth. Most of it ends up in the litter as manure. Adequate ventilation is the only practical way to remove this excess moisture and prevent caking.
Once caking begins, it’s very difficult to reverse without over-ventilating. This increases energy costs (especially in cold weather) and can stress the birds.
B. Impact of Caked Litter
Caked litter dramatically increases ammonia levels. High ammonia damages the birds’ respiratory system, reduces feed intake, lowers weight gain, affects carcass quality, and increases mortality.
Birds standing on wet, caked litter develop footpad burns and breast blisters. These lesions are painful for the birds and result in carcass downgrades or condemnations at processing. Consequently, you lose money on birds that may have grown well otherwise.
C. Prevention Is Easier Than Treatment
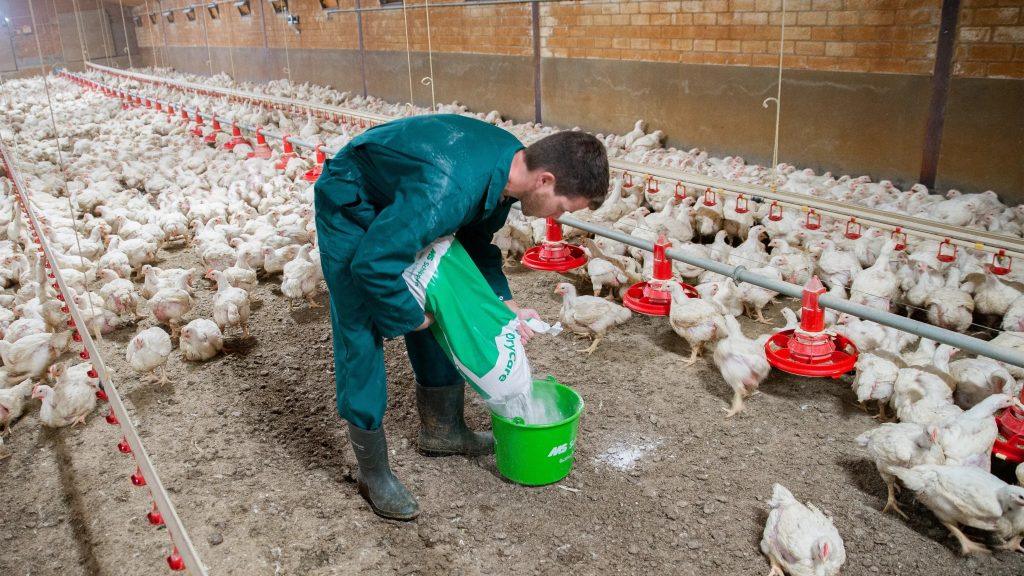
Preventing litter problems is always easier and cheaper than trying to fix them later. Focus on maintaining good ventilation from day one. Check drinkers daily for leaks or spills. Additionally, monitor humidity levels and adjust ventilation accordingly.
When you notice even small wet spots, address them immediately. Spread fresh bedding over wet areas as a temporary measure. However, plan for a complete litter change if the problem persists or spreads.
2. Common Types of Litter Materials
Several bedding materials are commonly used in poultry houses. Each has its own advantages and disadvantages.
1. Pine shavings: Still the preferred choice for many farmers due to excellent absorbency, comfort for birds, and good performance. However, availability has become limited and costs are rising in many areas.
2. Hardwood shavings: Work reasonably well but tend to be dustier than pine shavings. They also don’t absorb moisture quite as effectively.
3. Rice hulls: A very good and economical option where available. Young chicks may occasionally eat it, but this is rarely a serious issue.
4. Peanut hulls: Cheap in peanut-producing areas. However, they tend to cake and crust easily and are susceptible to mold. Past concerns about pesticide residues have mostly been resolved.
5. Sand: Shows good performance in trials and can be reused long-term after de-caking. On the downside, it’s harder to keep warm during brooding and needs thorough drying before use.
6. Crushed corn cobs: Limited availability. Can increase the incidence of breast blisters.
7. Chopped straw, hay, or corn stover: Affordable in some regions but has a high tendency to cake and develop mold.
8. Processed paper: Various forms work well in research and commercial settings. Larger particle sizes increase caking risk. Top-dressing with shavings can help.
A. Choosing the Right Material for Your Farm
Your choice of litter material depends on several factors. First, consider what’s available in your region. Second, look at the cost and whether you can get a consistent supply. Third, think about how the material performs in your specific climate.
In humid areas, highly absorbent materials like pine shavings work best. In drier climates, you might get away with less expensive options like rice hulls or hardwood shavings.
B. Evaluating Litter Material Performance
Good litter material should absorb moisture quickly, resist caking, produce minimal dust when dry, and provide comfortable footing for birds. Additionally, it should be affordable and readily available.
Poor litter materials cake easily, produce excessive dust, harbor mold growth, or compact too quickly under the birds’ weight. These problems lead to health issues and poor performance.
C. Managing Different Litter Types
Each material requires slightly different management approaches. Sand, for example, needs good heating during brooding since it stays cold longer than organic materials. Rice hulls work well but need to be kept very dry to prevent caking.
Straw-based materials require excellent ventilation because they hold moisture and develop mold more easily. Paper products benefit from mixing with small amounts of shavings to improve texture and reduce caking.
Read more: importance of records maintenance in the poultry farm
3. Signs That Litter Needs Changing
Knowing when to change litter is crucial for maintaining bird health. Don’t wait for the two-month mark if you see these warning signs.
A. Visual Indicators
Wet patches that don’t dry within a few hours are a red flag. Dark, compacted areas indicate caking. Additionally, white or green growth on the surface suggests mold development.
If you see birds avoiding certain areas of the house, check those spots carefully. Birds instinctively stay away from uncomfortable or unhealthy litter conditions.
B. Smell Test
Your nose is one of your best tools. A strong ammonia smell when you enter the house means trouble. Healthy litter should smell earthy and slightly sweet, not sharp or pungent.
If the ammonia burns your eyes or throat, it’s definitely burning the birds’ respiratory systems too. Change the litter immediately.
C. Touch and Feel
Walk through your poultry house regularly. Feel the litter with your hands. It should be dry and crumbly, not damp or sticky.
If it forms clumps when you squeeze it, there’s too much moisture. Dry litter should fall apart easily when you release your grip.
4. Best Practices for Extending Litter Life
While you can’t keep litter indefinitely, good management practices can help you maximize its useful life safely.
A. Daily Monitoring
Check your poultry house every single day. Look for wet spots, check drinker lines for leaks, and observe bird behavior. Early detection of problems saves you money and protects bird health.
Keep a simple log of litter conditions. Note any wet areas, ammonia smell intensity, and actions you took. This helps you spot patterns and prevent recurring problems.
B. Ventilation Management
Proper ventilation is the single most important factor in litter management. Fresh air removes moisture, dilutes ammonia, and keeps litter dry.
Don’t be afraid to ventilate even in cold weather. Birds handle cold air better than they handle high ammonia. Just make sure the incoming air doesn’t blow directly on young chicks.
C. Water System Maintenance
Leaking drinkers are one of the biggest causes of wet litter. Inspect your water system weekly. Fix leaks immediately and adjust drinker height as birds grow.
Nipple drinkers generally cause less spillage than bell drinkers. However, they still need regular checking to ensure they’re not dripping or leaking.
D. Strategic Top-Dressing
When you notice small wet areas, spread fresh bedding material over them. This absorbs the moisture and provides birds with dry footing. However, this is a temporary fix, not a permanent solution.
Top-dressing works well between flocks or during the first few weeks of a new flock. But don’t use it as a substitute for proper litter management or needed full changes.
Seasonal Considerations
Different seasons present different challenges for litter management. Adjust your approach based on weather conditions.
1. Rainy Season Management
Humidity skyrockets during rainy periods. Litter absorbs atmospheric moisture even without direct wetting. Increase ventilation rates and monitor litter condition more frequently.
You might need to change litter more often than the standard two-month guideline. Budget for this in advance if you live in an area with pronounced rainy seasons.
2. Cold Weather Challenges
Cold weather creates a dilemma. You need ventilation to remove moisture, but you also need to keep birds warm. The solution is minimum ventilation that runs continuously, removing moisture without chilling birds.
Install timer-controlled fans if you don’t have them already. They maintain air exchange without over-ventilating and wasting heat.
3. Hot Weather Benefits and Risks
Hot weather helps dry litter faster, which is good. However, it also increases water consumption, which puts more moisture back into the litter. Additionally, high temperatures can increase ammonia production from wet litter.
Maximize ventilation during hot periods. Keep birds cool, remove moisture, and dilute ammonia all at the same time.
Summary on How Long to Keep Poultry Litter
| Aspect | Key Points |
|---|---|
| Recommended Change Interval | Once every 2 months (full change), but change immediately if wet, caked, or dusty |
| Main Reason to Change Early | Wet, caked, dusty, or high ammonia conditions can appear even the next day after changing |
| Primary Goal | Keep litter dry at all times to control ammonia, prevent diseases, and improve bird performance |
| Main Cause of Problems | Excess moisture from spillage, poor ventilation, high humidity, or rainy season conditions |
| Impact of Bad Litter | Increased ammonia, footpad burns, breast blisters, respiratory issues, lower growth, mortality |
| Water Consumption Insight | Broilers drink approximately 2 times their feed intake; most water ends up in litter as manure |
| Best Ventilation Strategy | Consistent, adequate ventilation to remove moisture before caking occurs |
| Most Popular Litter Materials | Pine shavings, rice hulls, hardwood shavings, peanut hulls, sand |
| Worst Traits to Avoid | High caking tendency, mold growth, excessive dust, poor absorbency |
| Economic Importance | Good litter management directly affects bird health, carcass quality, condemnations, and profit |
Frequently Asked Questions About Poultry Litter Management
1. How often should I completely change poultry litter?
A full change every 2 months is a good general guideline. However, always replace it sooner if it becomes wet, caked, dusty, or smells strongly of ammonia.
2. What happens if I leave wet litter too long?
Wet litter leads to caking, high ammonia levels, footpad burns, breast blisters, respiratory problems, reduced growth, and increased mortality.
3. Why does litter cake even when I clean regularly?
Caking is caused by excess moisture buildup over time. This usually comes from poor ventilation, water spillage, or high humidity, not just one day of bad conditions.
4. Which litter material is considered the best overall?
Pine shavings are still widely regarded as the best. They offer good absorbency, low dust (when dry), and reasonable comfort for birds. However, availability and cost are becoming issues.
5. Can I reuse litter for multiple flocks?
Yes, built-up litter is commonly reused. However, it requires excellent management including regular de-caking, good ventilation, and moisture control to avoid health and performance problems.
6. How much water do broilers add to the litter?
Broilers drink about 2 pounds of water for every pound of feed consumed. Most of this water eventually reaches the litter as manure.
7. What is the main purpose of good litter management?
To keep litter dry, control ammonia, prevent foot and skin lesions, reduce disease risk, improve bird welfare, and maintain good growth and carcass quality.
8. Does the rainy season affect litter management?
Yes, litter absorbs moisture faster during rainy weather. Therefore, you may need more frequent monitoring, better ventilation, or earlier changes.
9. Is sand a good litter material for poultry?
Sand performs well in trials, allows long-term reuse after de-caking, and controls moisture effectively. However, it’s harder to keep warm during brooding and needs thorough drying before use.
10. What should I do as soon as I notice caking in the litter?
Increase ventilation immediately (carefully to avoid chilling birds), remove or break up caked areas, improve drinker management, and plan a full litter change as soon as possible.
Do you have any questions, suggestions, or contributions? If so, please feel free to use the comment box below to share your thoughts. We also encourage you to kindly share this information with others who might benefit from it. Since we can’t reach everyone at once, we truly appreciate your help in spreading the word. Thank you very much for your support and for sharing!
Read Also: Best Type of Poultry to Raise for Commercial Production and their Time of Maturity