
Getting started with poultry farming requires careful attention to brooding practices. The first few weeks of a chick’s life are the most critical period that determines their health, growth, and productivity throughout their lifetime. Proper brooding management sets the foundation for successful poultry farming, whether you’re raising chickens for eggs, meat, or both.
Brooding is the process of providing warmth, comfort, and proper care to young chicks until they develop enough feathers to regulate their body temperature on their own. This usually takes about 4 to 6 weeks, depending on the weather and the breed. During this time, chicks need constant monitoring and the right environment to thrive.
Many new poultry farmers make mistakes during brooding that lead to high mortality rates and poor growth. These mistakes include poor temperature management, overcrowding, inadequate ventilation, contaminated water, and delayed response to signs of distress. Understanding proper brooding management practices helps you avoid these common pitfalls and gives your flock the best start possible.
This guide covers everything you need to know about managing chicks from the moment they arrive at your farm through their daily care routines and periodic health management activities. You’ll learn how to prepare for chick arrival, what to do in the first critical hours, how to maintain optimal conditions throughout the brooding period, and when to perform important health procedures like debeaking and vaccination.
1. Arrival of Chicks
The first day sets the tone for your entire flock’s performance. How you handle chicks when they arrive can make the difference between a healthy, productive flock and one plagued with problems from the start.
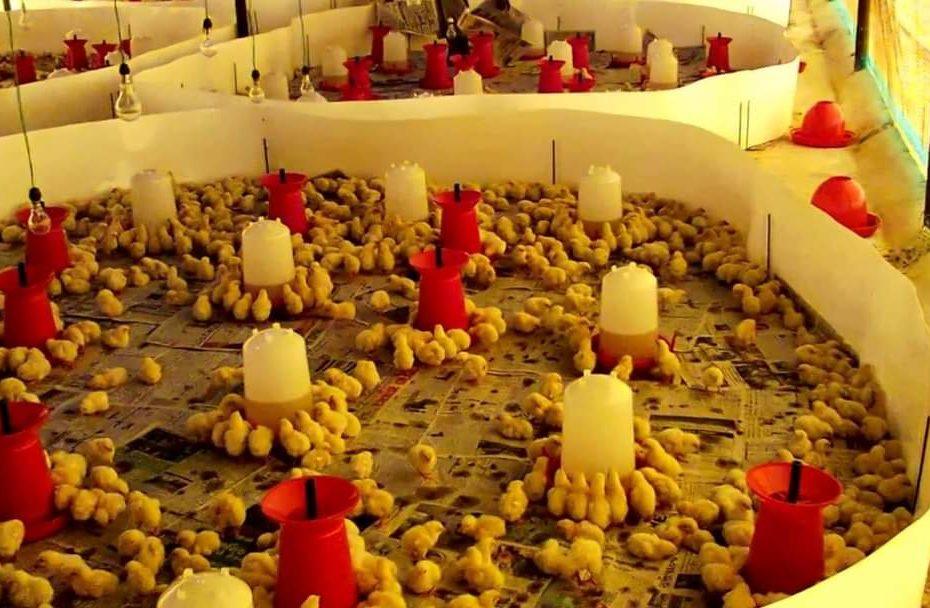
1. Pre-arrival preparation: About 6 hours before the chicks arrive, fill the drinkers with medicated water, turn on the heat source to warm up the room, and place feed in the feeders. Some feed may also be sprinkled on the litter to encourage early feeding behavior. The room temperature should be around 35°C (95°F) at chick level before they arrive.
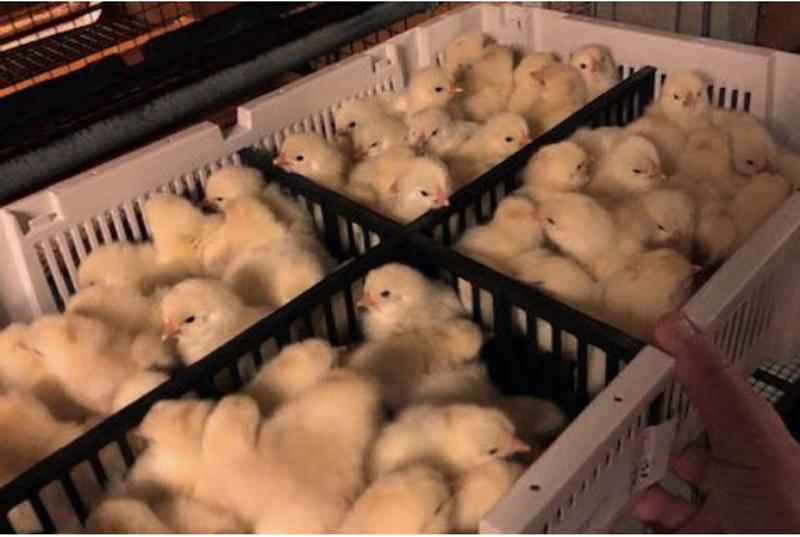
2. Transportation: Transport the chicks as fast as possible from the hatchery to the farm with minimum disturbance and preferably during the cooler part of the day. Ensure that the chicks are adequately ventilated while in transit. Never pack chicks inside the boot of a car while in transit, as this can cause overheating and suffocation.
3. Documentation: Collect all relevant information about the chicks from the hatchery. Have they been vaccinated? Are there any special management practices to be observed? What is the anticipated growth or production potential? This information helps you plan your feeding program and health management schedule.
4. Immediate care upon arrival: As soon as the chicks arrive, count and put them immediately under the hover. Remove all deformed chicks. Teach the weak chicks to drink. If chicks are transported over long distances by road, the addition of glucose (or sugar if glucose is not available) to the drinking water may help to increase their survival rate. The sugar provides quick energy and helps them recover from transport stress.
5. Temperature monitoring: After putting down the chicks stay and watch them for the next one hour and observe how comfortable they are. If they spread under the hover, they are comfortable. If they huddle in the center close to the source of heat they are cold. If the room is too hot, they will move from the source of heat and push up against the chick guard. The heat supply should then be adjusted accordingly. This observation period is critical and should not be skipped.
6. Preventing piling: Chicks tend to crowd around corners of the building especially when frightened or if they feel cold. Piling can lead to mortality through suffocation and trampling. It is therefore advisable to round off any sharp or square corners of the house with boards, bricks, or jute sacks to prevent piling. Check the corners frequently during the first few days.
Read Also: Facilities Required for Brooding and Rearing of Poultry Chickens
2. Daily Activities
Consistency in daily management makes the difference between success and failure in poultry farming. These activities should become part of your routine.
1. Regular inspection: During the first week, inspect your flock as early as possible in the morning, as late as possible in the evenings, and occasionally at other times to ensure that the birds are comfortable. Early morning checks help you catch problems that developed overnight, while evening checks ensure the birds settle in properly for the night.
2. Dead bird removal: Remove any dead birds and dispose of them properly by burial or use of a disposal pit. Never leave dead birds in the pen as they can spread disease and discourage healthy birds from feeding.
3. Feed management: Remove mould or contaminated feed and add a fresh supply.
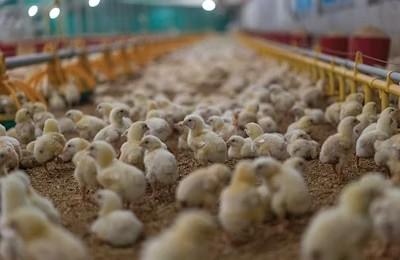
Feeders should only be filled about half to two-thirds capacity in order to minimise feed wastage. They should also be placed in such a way that no bird has to walk more than 3.05m (10ft) to get feed or water. This ensures even access and prevents competition that could lead to stunted growth in weaker birds.
4. Water management: Remove waterers and wash properly before refilling with fresh clean water that is fit for human consumption. Use medicated water throughout the first week. The water should be changed again in the afternoon, if it becomes dirty or is refilled anytime it is empty. Waterers may be raised on blocks to minimize contamination from litter and droppings.
5. Litter management: Remove wet litter and replace with fresh and dry litter materials. Wet litter can cause respiratory problems, foot pad burns, and increased ammonia levels that stress the birds.
6. Lantern maintenance (when kerosene lanterns are used):
a) Fill them up only two-thirds full every morning and evening
b) Remove any accumulated soot
c) Trim the wick periodically to obtain a uniform flame
7. Record keeping: Fill in the records. For small holders, a hard-covered notebook is adequate, but for large units, several forms with the appropriate columns are usually kept for each pen. Record mortality, feed consumption, water intake, temperature, and any unusual observations.
8. Housekeeping: All corridors and storage spaces should be swept clean and all equipment not in use should be neatly packed in such storage spaces. Good housekeeping prevents pest infestation and makes it easier to spot problems early.
9. Health monitoring: If abnormal signs are observed, such as decreased feed consumption, bloody faeces, decreased activity or droopines, report immediately to your nearest livestock or veterinary officer. Early intervention can prevent small problems from becoming flock-wide disasters.
3. Periodic Activities
Some management activities don’t need to be done daily but are important for long-term flock health and productivity.
1. Culling: Cull birds that are deformed, stunted, or are manifesting la ack of growth and poor productivity. This cuts down on the cost of feed and also increases the space allowance for the healthy birds. Culling improves the overall uniformity and performance of your flock.
2. Debeaking: Debeak the birds at three to five weeks old and between 15 to 17 weeks of age by cutting off about 1/3 of the upper and lower beaks. Electric debeaking at about three weeks of age gives a more permanent debeaking than old scissors debeaking. Debeaking prevents feather pecking and cannibalism, and reduces feed wastage.
3. Deworming: Deworm at eight weeks and thereafter as necessary depending on the incidence of re-infestation of the flock by worms. Regular deworming ensures optimal nutrient absorption and growth rates.
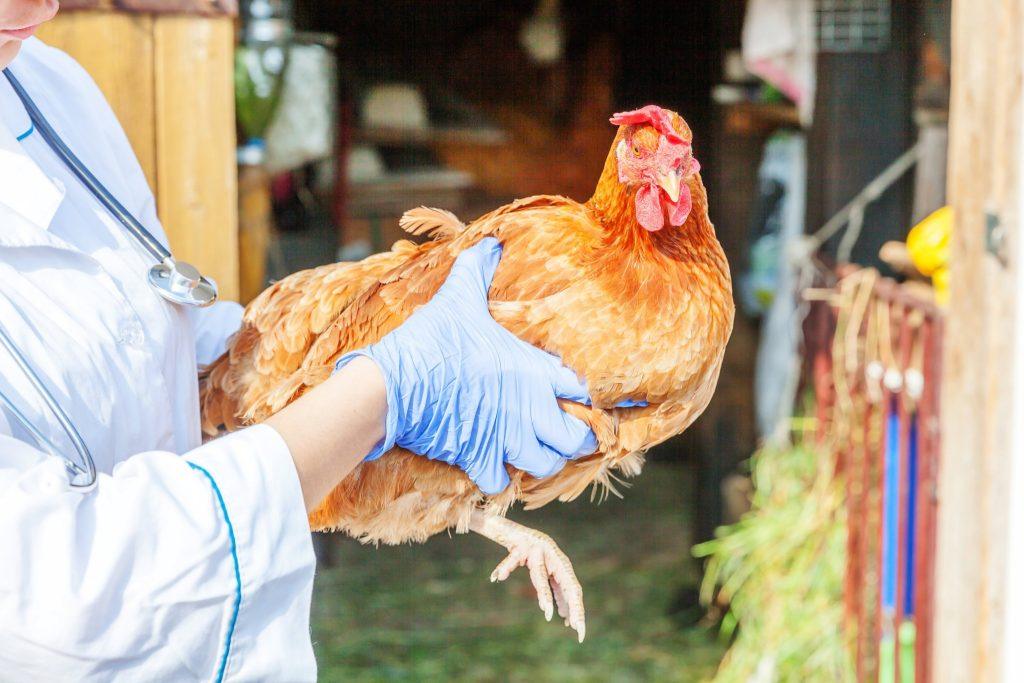
4. Vaccination: Follow the routine vaccination programme recommended for your area. Common vaccinations include Newcastle disease, infectious bursal disease (Gumboro), fowl pox, and infectious bronchitis. Your local veterinary officer can provide a vaccination schedule specific to your region.
Read Also: Methods of Preparation for the Arrival of Poultry Chicks
Summary on Poultry Brooding Management Practices
| Aspect | Key Points | Timing |
|---|---|---|
| Chick Arrival | Prepare room 6 hours before arrival, ensure proper temperature (35°C), transport during cool hours, observe for 1 hour after placement | Day 1 |
| Temperature Management | Chicks spread out when comfortable, huddle when cold, move away when hot, adjust heat source accordingly | Daily, especially Week 1 |
| Feeding | Fill feeders half to two-thirds full, place within 3.05m of all birds, remove mouldy feed daily | Daily |
| Watering | Provide medicated water in Week 1, clean and refill waterers daily, raise on blocks to prevent contamination | Daily |
| Litter Management | Remove wet litter daily, replace with dry material, round off corners to prevent piling | Daily |
| Health Monitoring | Inspect flock morning and evening, remove dead birds immediately, watch for abnormal signs | Daily |
| Record Keeping | Track mortality, feed/water consumption, temperature, unusual observations | Daily |
| Culling | Remove deformed, stunted or poorly performing birds | As needed |
| Debeaking | First debeaking at 3-5 weeks, second at 15-17 weeks, use electric debeaker for best results | 3-5 weeks, 15-17 weeks |
| Deworming | First deworming at 8 weeks, repeat as needed based on worm infestation levels | 8 weeks, then as needed |
| Vaccination | Follow recommended schedule for your area (Newcastle, Gumboro, fowl pox, etc.) | As per local schedule |
Frequently Asked Questions About Poultry Brooding Management Practices
1. What temperature should I maintain during brooding?
Start with 35°C (95°F) at chick level during the first week. Reduce the temperature by about 3°C each week until you reach room temperature around 21°C (70°F) or until the chicks are fully feathered. Watch the chicks’ behavior rather than relying only on thermometers.
2. How long does the brooding period last?
The brooding period typically lasts 4 to 6 weeks, depending on the weather conditions and breed. In warmer climates, chicks may be ready sooner. The brooding period ends when chicks can maintain their body temperature without supplemental heat.
3. What should I do if my chicks are piling up in corners?
Chicks pile in corners when they’re cold or frightened. First, check and increase the heat if needed. Second, round off all corners using boards, bricks,s or sacks. Watch the chicks closely and investigate what might be scaring them, such as sudden noises, predators, or drafts.
4. Why is medicated water important in the first week?
Medicated water helps prevent common chick diseases during their most vulnerable period. It contains antibiotics or other medications that protect against bacterial infections and coccidiosis. Always follow the recommended dosage and duration from your veterinary officer.
5. How much space does each chick need during brooding?
During the first week, provide about 0.09 square meters (1 square foot) per chick. As they grow, increase this to 0.18 square meters (2 square feet) by 4 weeks. Overcrowding leads to poor growth, increased disease transmission, and higher mortality.
6. When should I start feeding chicks after they arrive?
Feed should be available immediately when chicks arrive. Sprinkle some feed on the litter during the first few days to encourage feeding behavior. Chicks need to eat within 24 hours of hatching to survive and thrive.
7. How can I tell if the brooding temperature is right?
Watch the chicks’ behavior. If they spread out evenly under the hover, the temperature is right. If they huddle together near the heat source, they’re cold. If they move away from the heat and crowd the edges, they’re too hot. Adjust the heat source based on these observations.
8. What causes high mortality during brooding?
Common causes include incorrect temperature, poor ventilation, contaminated water, moldy feed, disease, overcrowding, and piling. Stress from transport, dehydration, and failure to eat in the first 24 hours also contribute to early mortality. Proper management prevents most of these problems.
9. Why is debeaking necessary?
Debeaking prevents feather pecking and cannibalism, and reduces feed wastage. Birds with intact beaks can damage each other, especially when stressed or overcrowded. Debeaking should be done at the right age using proper equipment to minimize stress.
10. How often should I change the litter during brooding?
Remove wet patches daily and replace with dry litter. Complete litter changes depend on the depth and type of litter used. Deep litter systems may only need spot cleaning, while shallow litter requires more frequent changes. Keep litter dry and friable at all times.
Do you have any questions, suggestions, or contributions? If so, please feel free to use the comment box below to share your thoughts. We also encourage you to kindly share this information with others who might benefit from it. Since we can’t reach everyone at once, we truly appreciate your help in spreading the word. Thank you very much for your support and for sharing!
Read Also: Methods of Livestock Breeding in the Tropical Environment